


The pvc tarpaulin tent is a new type of temporary building for outdoor activities, and it is an application of the tent. The tent is a brand-new concept for the international masses, and it has only gradually appeared in people’s daily outdoor activities in recent years. It is composed of a basic movable frame and a tarp. The frame generally has alloy and steel as the main components. , Convenient storage and small size. PVC tarpaulin is a very important part of the tent. Its quality directly affects the safety of the combined tent, and it is also closely related to the safety of activities. Therefore, it is very important to choose high-quality pvc tarpaulins. So how should pvc tarpaulin tents be installed?
Tent installation of pvc tarpaulin: (Tools that customers need to prepare before installation: two herringbone ladders, two adjustable wrenches, two hemp ropes <30 meters>, and a 50-meter tape measure.)
Step 1: Position the bottom plate of the column
First determine the level of the ground at the installation site, and then locate the bottom plate. The distance from the center of the bottom plate to the center of the bottom plate is 15 meters in the longitudinal direction and 5 meters in the horizontal direction. Because this tutorial is based on a tent with a span of 15 meters as an example, the longitudinal distance is 15 meters. The horizontal direction is the length of the tent, which can be extended indefinitely in multiples of 5 meters. Note that it must be the distance from center to center. After confirming the positions of the four base plates, measure whether the diagonal distances are equal. If it is not equal, you must re-adjust the position and ensure that it is a rectangle instead of a parallelogram. After positioning, fix the bottom plate of the column at the corresponding four positions (for the fixing method, please refer to the third section of this article: Fixing Measures of the Tent). In the same way, position and fix the other bottom plates in the length direction.
Step 2: Place the parts
Columns, corner joints, inclined beam A section, inclined beam B section (two inclined beams are required for the injection span of more than 14 meters), and inclined beam receiving parts (for connecting the inclined beam A section and the inclined beam B section, 14 There is no such component below the meter span), the top node is placed as shown in the figure below, and all components constitute a gable, which is the so-called herringbone frame on the side of the span. Place the other mountain wall parts according to the same principle, paying attention to be flat on the ground in one direction.
Step 3: Connect the inclined beam A/B section
Insert section A of the inclined beam into the inclined beam receiving part of the inclined beam B section (we will assemble the inclined beam receiving part to the inclined beam section B when we pack), and fasten two screws (note: the small hole will not be installed first) screw)
Step 4: Install the top node
Connect the AB section of the connected oblique beam to the top node and bolt in the screw.
Installation and operation steps of pvc tarpaulin tent
Related Products
colourful inflatable fabrics
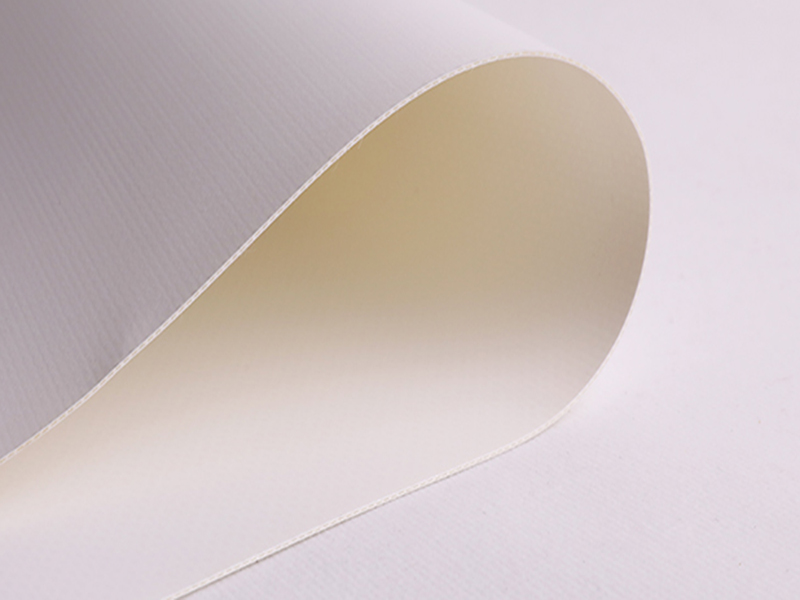
Membranes for gymnasiums
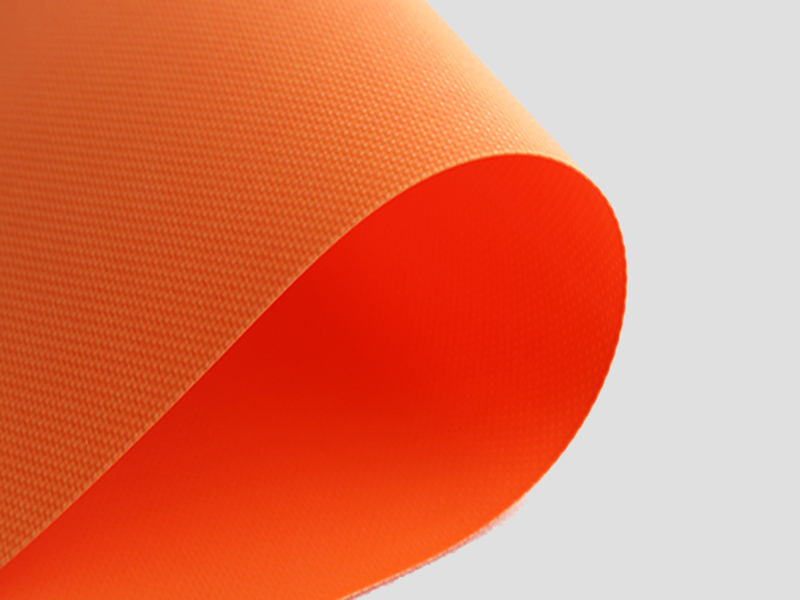
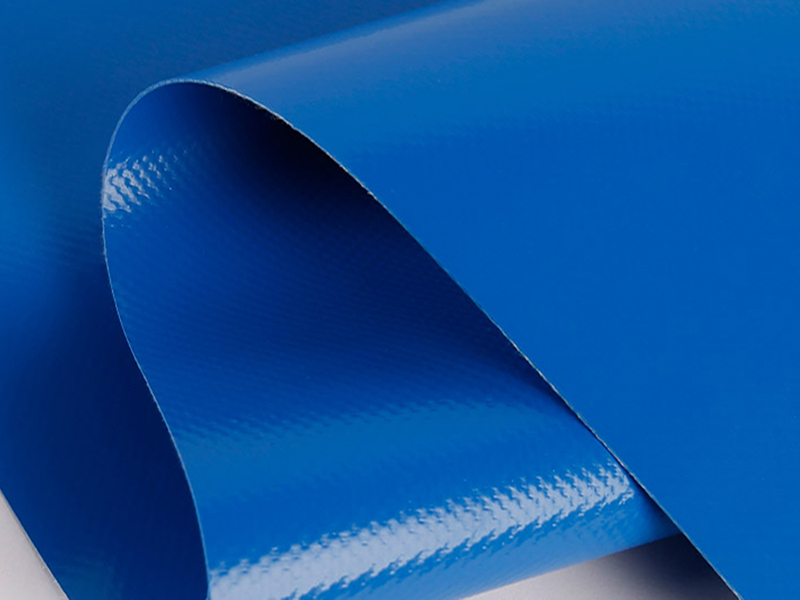
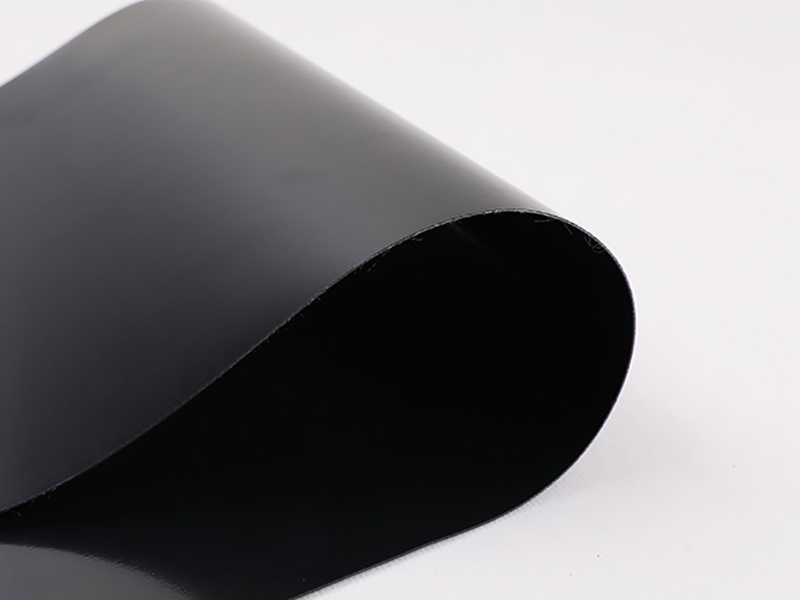
waterproof pvc tent material
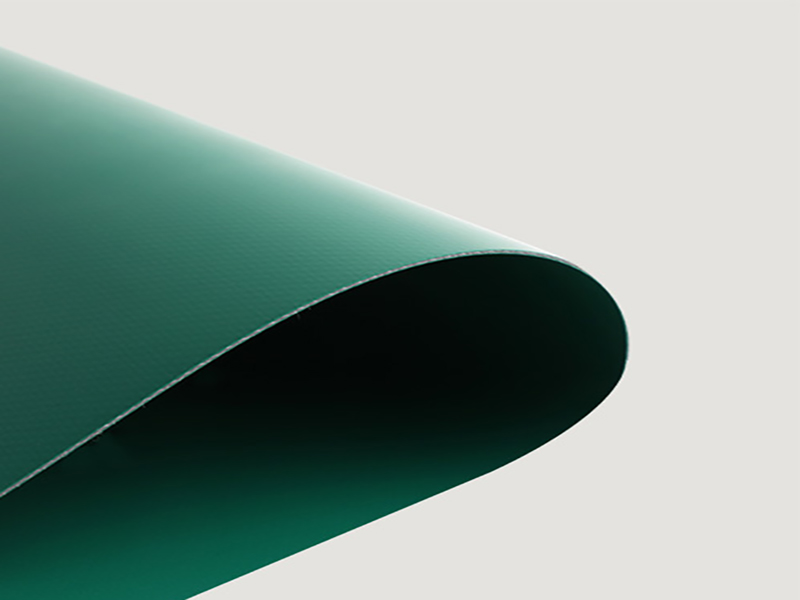
hot sale tents materials - Green
colourful membranes
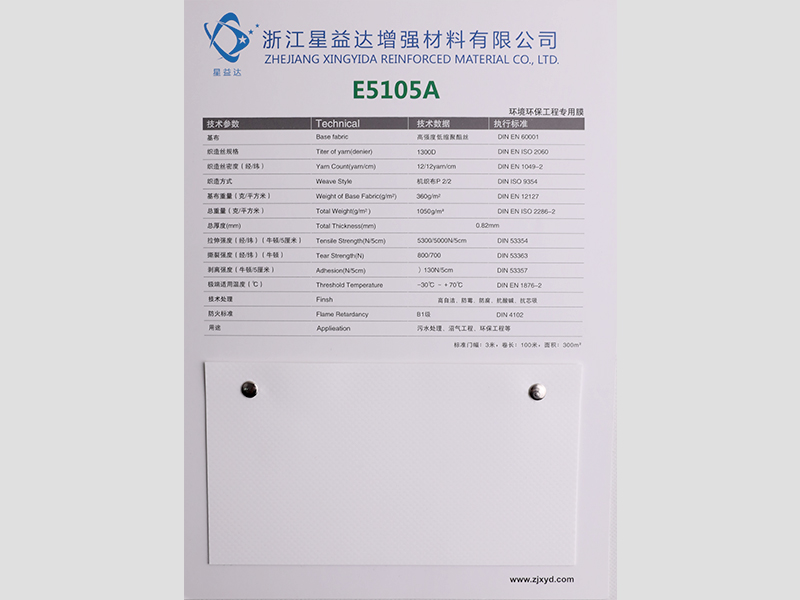
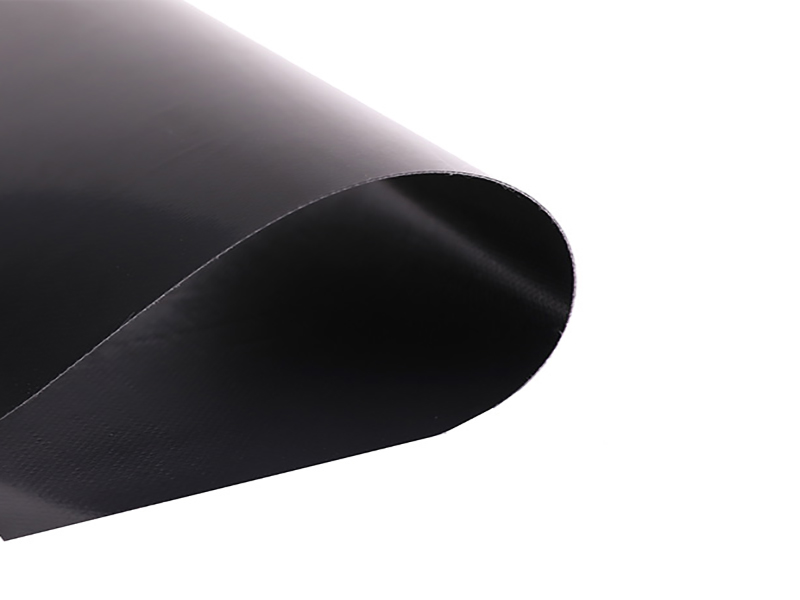
E5105A(Sewage treatment membrane, anti-acid and alkali, anti-wicking)
customized size pvc tents materials
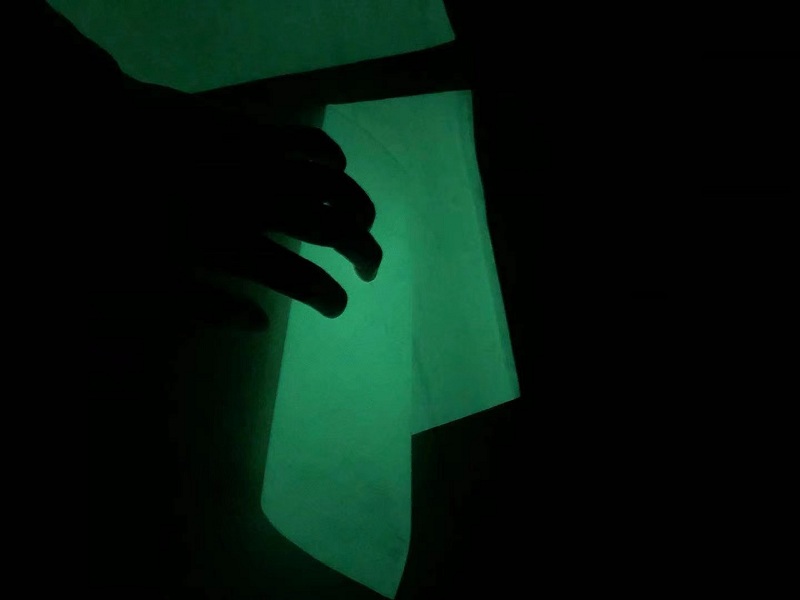
Fluorescent membranes,luminous materials
610gsm blue fabrics
coated pvc fabric suppliers will work together with you to develop a broader market and achieve a better prospect.
-
- Quik Links
- Home
- About Us
- Products
- Application field
- News
- Faq
- Contact Us
-
- contact details
-
You can also leave your contact information, we will contact you as soon as possible.
-
